The Unique Beauty of Tie Dye: Unleashing Your Inner Fashion Designer
Jun
Everyone has a unique style that tells a story about who they are. It’s an expression of our personality, our tastes, and our desires. But sometimes, it’s not easy to find clothes that perfectly portray our inner selves. That’s where the art of tie-dyeing comes in handy. Today, let’s talk about how you can create your own tie-dye masterpiece, even without the ties!
Embracing the Magic of Tie Dye
For those who are unfamiliar, tie-dyeing is a coloring technique used to create beautiful, whimsical patterns on fabric. Traditionally, the process involves twisting, crumpling, or tying the fabric before applying different colors of dye. But what happens if you tie dye without the ties? As someone who has experimented with various tie-dye methods, I can assure you that the result can be just as stunning and unique.
Creating Your Tie Dye Masterpiece
To start, you’ll need a tie-dye kit. I personally love the Tulip one-step tie-dye kit from Joanne’s. It’s simple, affordable, and comes with everything you need. Joanne’s also offers blank guild and shirts, perfect for your tie-dye adventures.
Here’s a step-by-step guide on how to tie dye without the ties:
1. Choose your colors: This is where your creativity can truly shine. Think about the colors that resonate with you the most.
2. Fill the bottles with water and shake: This is to ensure the dye mixes well with the water.
3. Pre-wash your garment: This step is crucial to remove any residues that might prevent the dye from adhering to the fabric.
4. Lay out and start scrunching it: This step is what replaces the traditional tying method. The random scrunching will create unique patterns on your fabric.
5. Add your colors: This is the fun part! You can scatter the colors randomly or in a specific order—it’s entirely up to you.
6. Knead the fabric like dough: If you want the colors to blend more, start kneading the fabric. This process helps to spread the dye and create a blend of colors.
7. Let it sit: Once you’re happy with the result, wrap your garment in plastic and let it sit for six to eight hours. This allows the dye to properly set.
8. Give it a final wash: After the waiting period, wash your garment to remove any excess dye. And voila! You’ve created your own tie-dye masterpiece.
Adding A Personal Touch
What I love most about this method is the ability to create matching accessories while waiting for the dye to set. It’s a fun way to add a personal touch to your wardrobe. And the best part? No two designs will ever be the same. Each piece you create will be as unique and beautiful as you are.
Conclusion
Tie-dyeing is a wonderful way to express your creativity and personal style. Whether you’re following the traditional method or experimenting with no-tie techniques, the result is always a reflection of your individuality. So, why not give it a try? I promise, the process is just as fulfilling as the end result.
And remember, fashion is not just about following trends—it’s about celebrating your unique beauty and feeling confident in your own skin. So, go ahead and unleash your inner fashion designer. Happy tie-dyeing!
Related articles:
- Sports Fashion Trends
- Holiday Fashion Tips
- Pop Culture and Fashion
- Political Fashion Statements
- Nostalgic Fashion Trends
- Local Fashion Brands
- Humorous Fashion Pieces
- Design and Style Inspirations
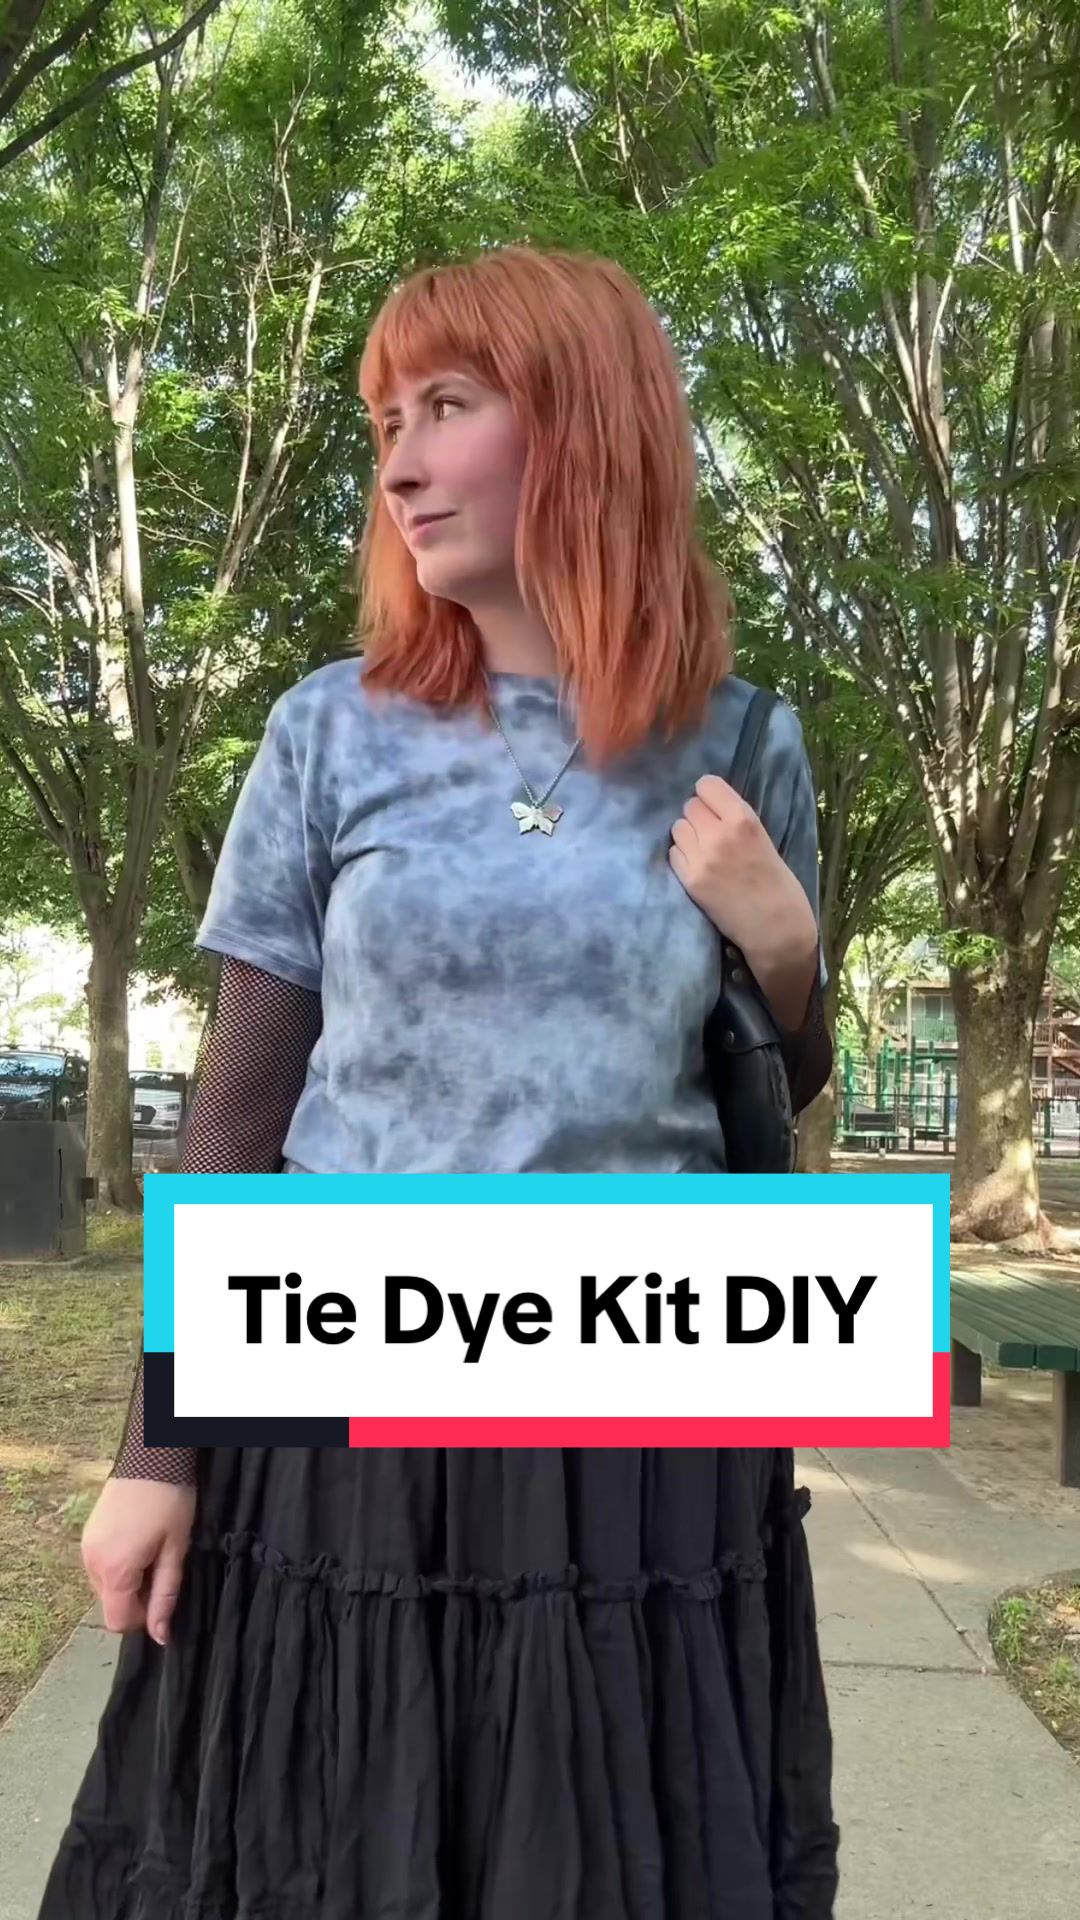
what happens if you tie dye without the ties grab a tie dye kit I like this tulip one from Joanne because it’s only one step Joanne has blank guild and shirts too choose your colors fill the bottles with water and shake pre wash your garment lay it out and start scrunching it add your colors I like to do it randomly and then check your result if you want the colours to blend more start kneading the fabric like dough repeat adding colour and kneading until you like the result once you’re happy wrap your garment in plastic and let it sit for six to eight hours you can dye matching accessories while you wait give it a final wash and you’re done I love this cloudy result would you try thisvideo